 |
 |
 |
 |
 |
 |

WORKING WITH MOULDS AND RESINES (by José Carlos López)
In this section, we are going to see how can we build plastic elements like knobs, levers, yokes, etc.
We need two types of products: one for the mould and the other to build the piece. I've been supported by one friend's company, dedicated to special effects for cinema, advertisements, etc.
Material for moulds.
We will use a special silicone reference RTV 3318 and it's catalyst SPU. This silicone is very elastic and can reproduce very small details. This characteristic is very important for our purposes.
Material for elements.
To build the pieces, we are going to use Cronodur A + B. This material is very fluid, so it can reproduce any detail in the mould. In addition, it get hard very quickly. The piece will be ready in 10 minutes.
I want to thank two persons: one is Luis García, who build all knobs from a real B737-800 cockpit and sent them at home. These knobs, with another real ones, have been the ones used to build the moulds. the second one is Oscar León, from BonzoFX, who explained me how to work with these products, and told me about their secrets.
I've followed advices from members of the spanish cockpits builders mailing list too, like Pedro Bibiloni and Roberto Martínez.
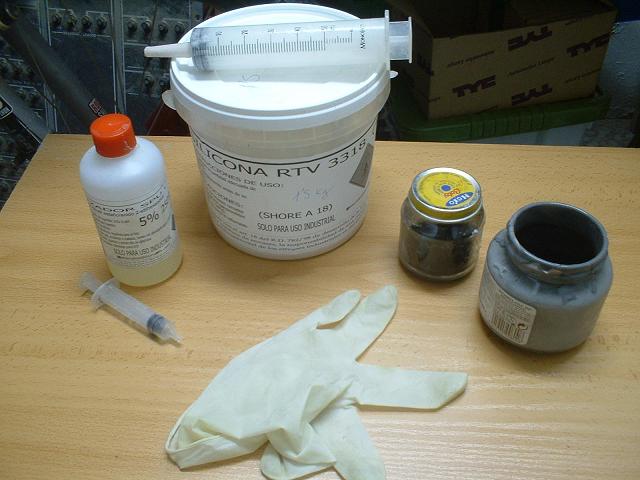
These are the elements we are going to work with:
- silicone RTV 3318
- catalyst SPU al 5%
- one 50cc syringe for silicone
- one 5 or 10 cc syringe for catalyst
- latex gloves
- a proper recipient
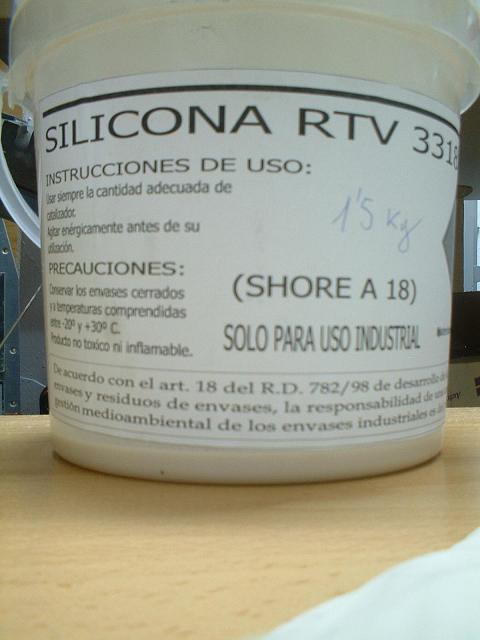
The silicone RTV 3318 is the main element. It can reproduce small details from the pieces we want to copy. It's sold by weight:
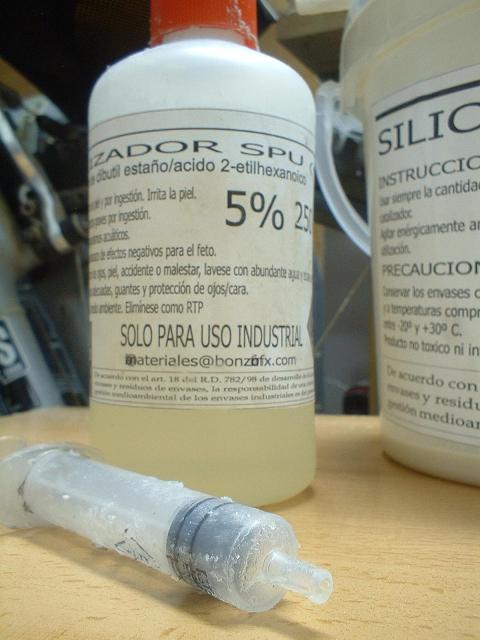
To make the silicone curdle, we use SPU catalyst at 5%. The proportion can be done by weight or by volume. For me is easier to do by volume, using proper size syringes:
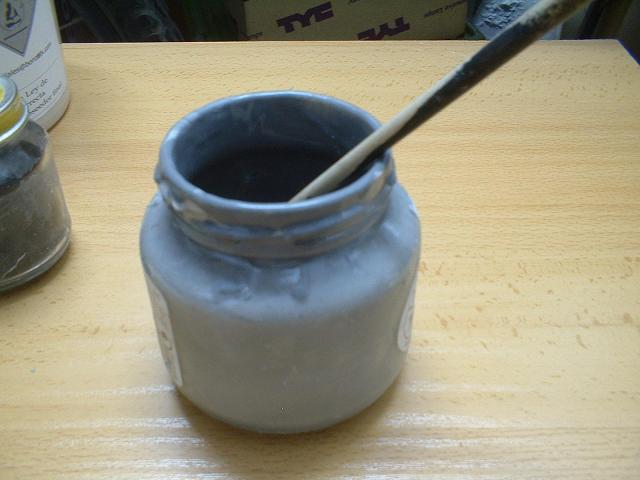
This is the silicone in its recipient, as bought:
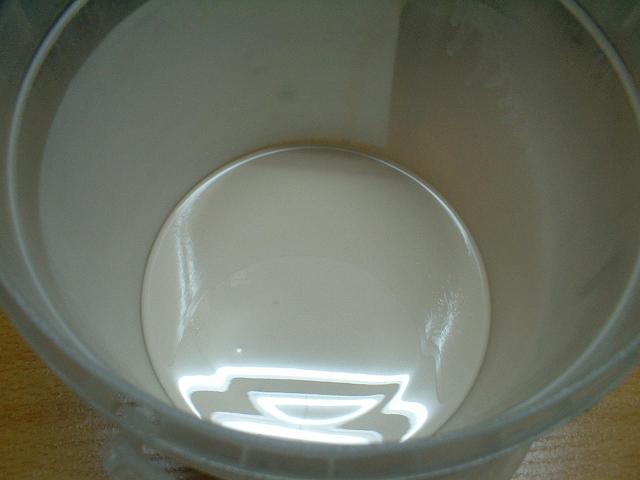
Once we know the correct quantities of each product, we mix them. The mixture must be well done and homogeneous, because the quantity of catalyst is very little:
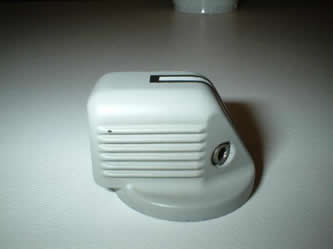
Next step is to prepare the elements to be copied and the recipients to place them. Here is one of the knobs:

We are going to prepare a mould of this switch lever too. This is an original switch:

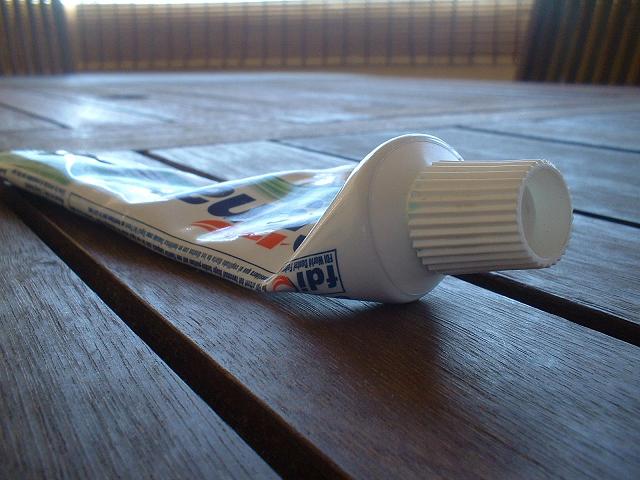
Is not possible to have the original knob we want, but we can use familiar elements, like this teeth paste tube, to build them. This type is very convenient for the IAS knob, in the MCP, for example:
We glue the models on the botton of the recipient, to avoid they move when the silicone is drop:

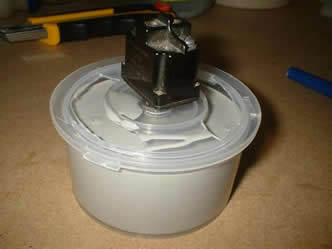
To get the copy of the switch lever, we can place it this way:
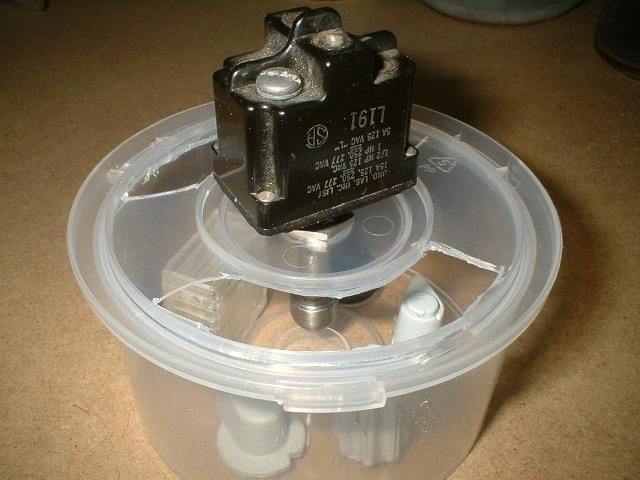
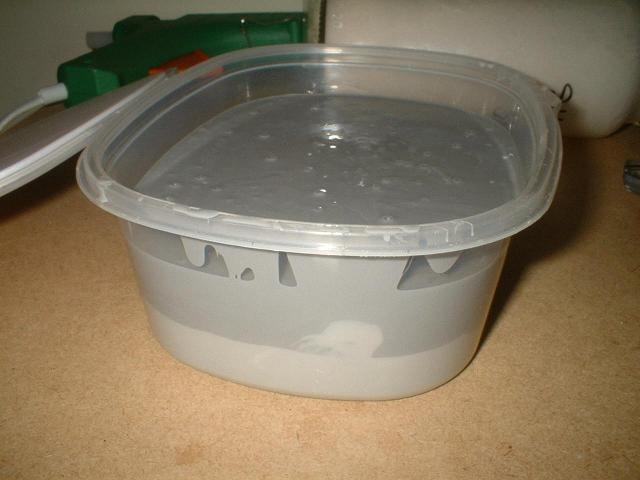
We fill the recipient with the mixture of silicone+catalyst:
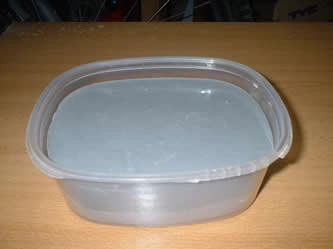
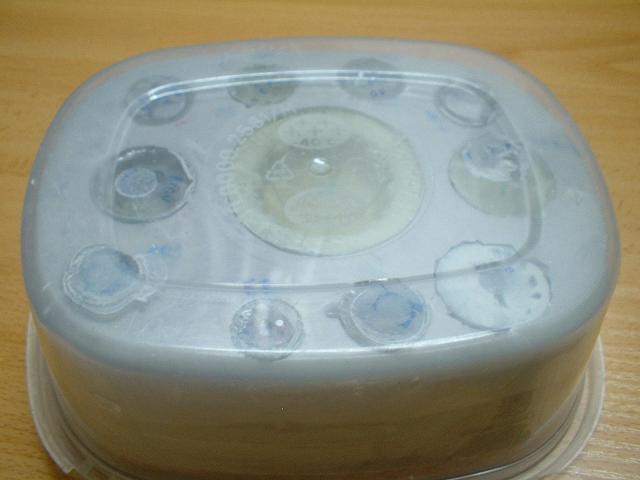
Now we wait until the silicone has curdled. I wait for 48 hours to be sure the process has finished:
We are ready to take out the silicone from the recipient. The mould must be taken out without breaking it. We can break the recipient instead, that's why I use a plastic one:
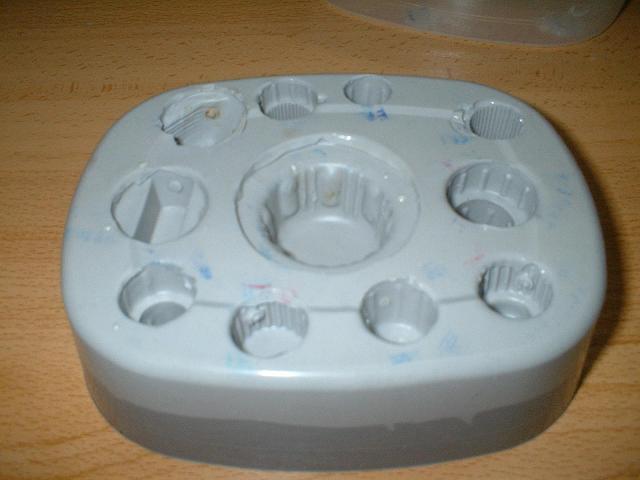
The mould is out of the recipient:

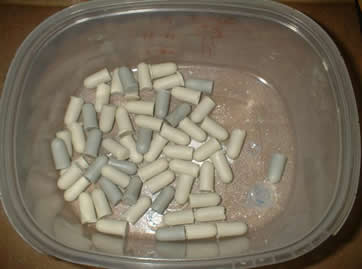
And taking out the pieces from the mould we have it ready to build our pieces:
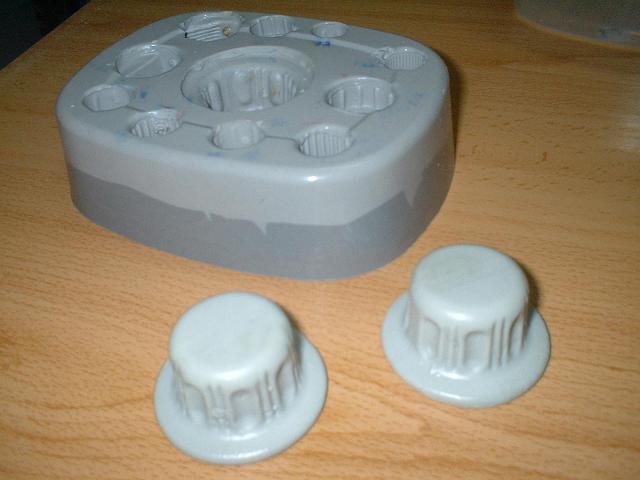
So, next step is to build the pieces, using Cronodur A + Cronodur B. They are mixed in 50% quantities. Once mixed and put in the mould, in 10 minutes, the pieces are ready.
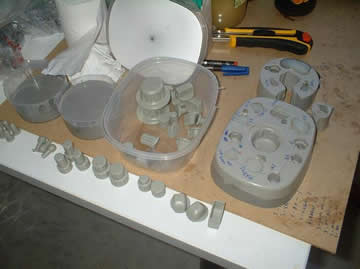
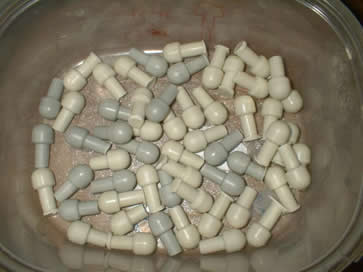
Here are some pieces and their moulds:
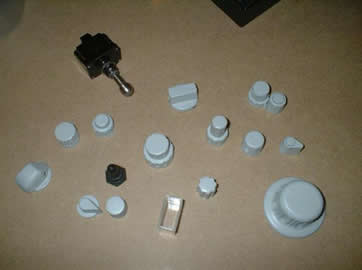
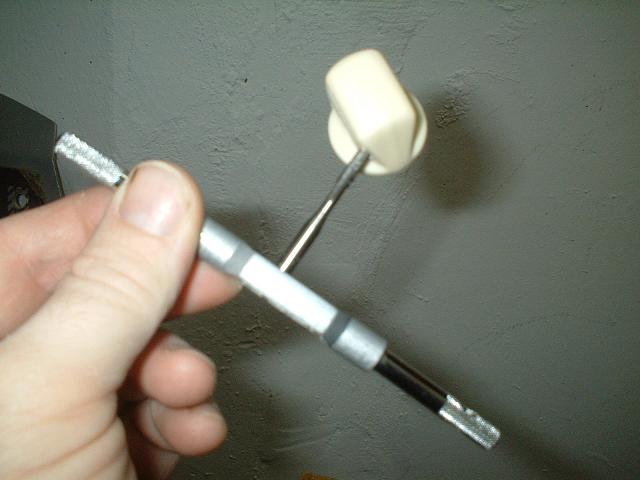
To finish, most of pieces need to be drilled. The best way is using a drill like the one in the picture:
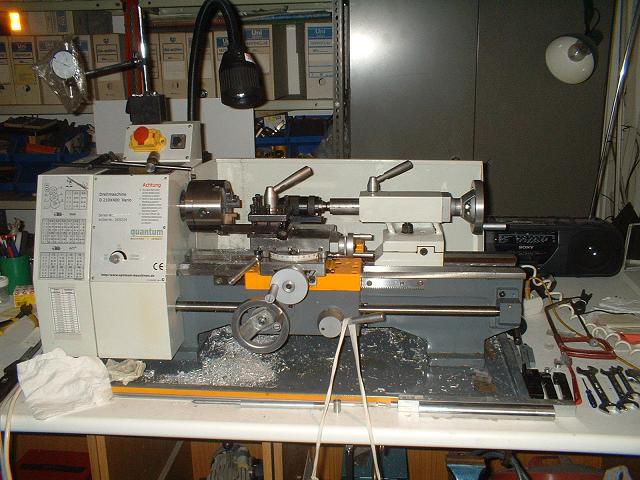
But we can use a vertical drill like this one too. We drill the hole for the axle first (6 mm.):
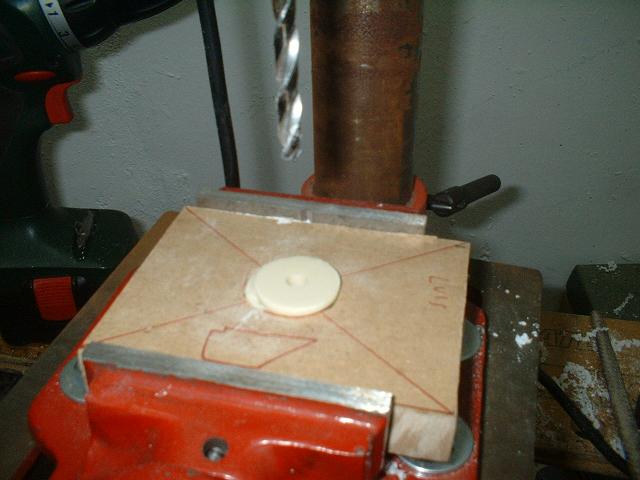
Then a hole for the pressing screw (4 mm.):

Then the thread (M4):
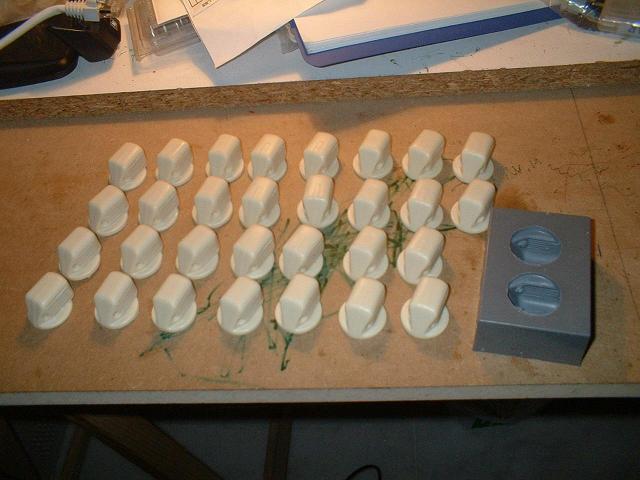
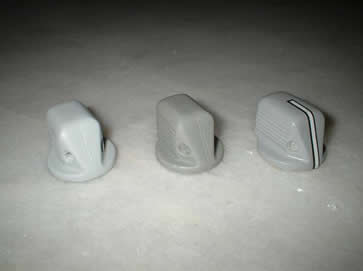
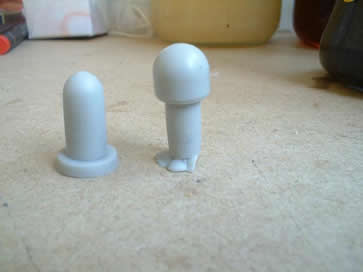
And the knob is ready to painted:
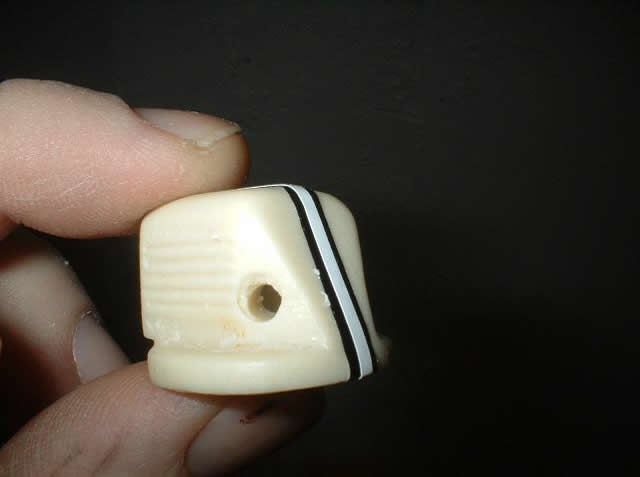
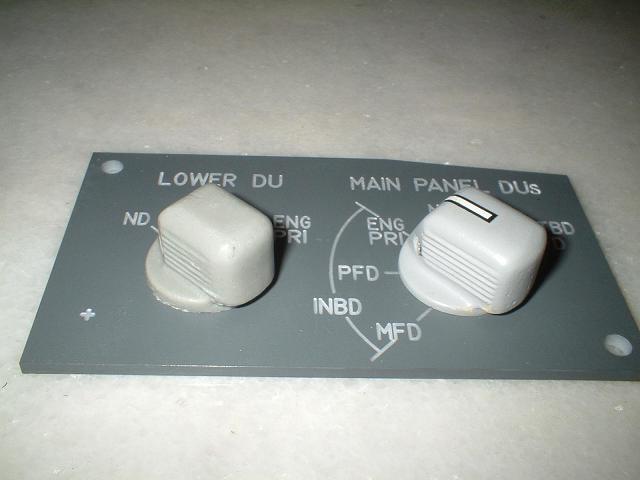
Example of knobs in one panel on the 1st officer area:
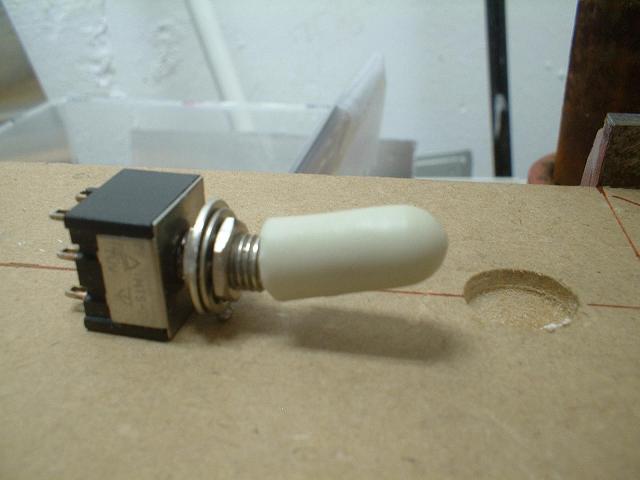
Mecanizado de los capuchones para los interruptores:
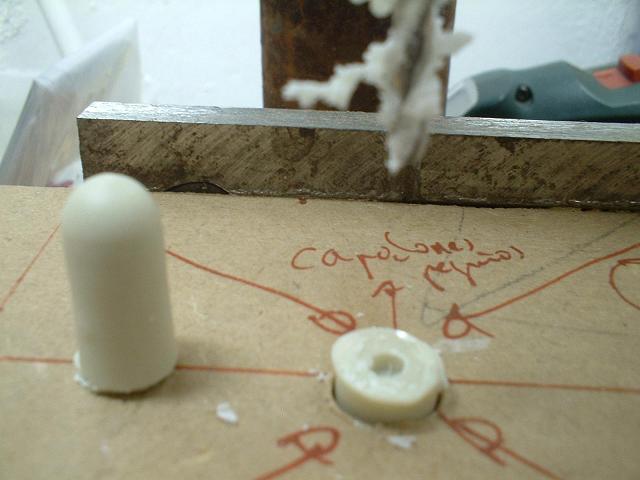
Aspecto sobre el interruptor:
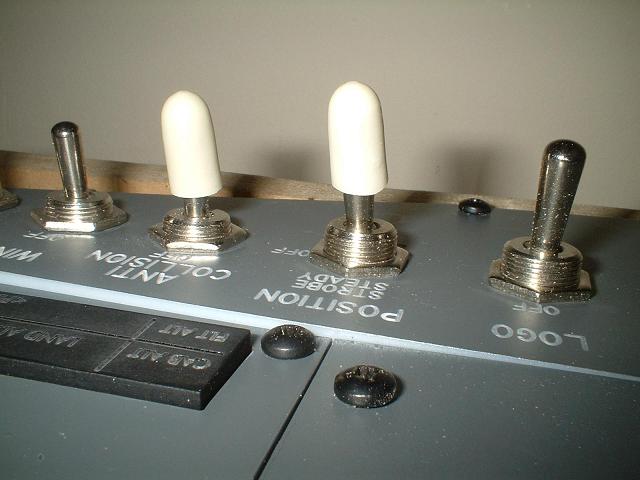
Y montado del capuchón en el Overhead:
Last edition: 22.10.2006
![]()
![]()